Dutch Braid Tutorial (Step by Step for Beginners)
A Dutch braid is just a French braid turned inside out — cross under instead of over and it pops off the head.
Polished up, it works for parties and wedding guests — and the cross-under structure flatters fine hair.
Medium to long hairBeginner friendly10 minutesNo heat
Affiliate links — a commission may be earned at no extra cost to you. Cosmetic information only, not medical advice.
Start here · the routine underneath

 Shop the full routine — one cart →
The healthy hair this style needs
A Dutch braid sits raised off the scalp, so it puts steady tension on the roots along its whole path. Bond care underneath is what keeps that from thinning the hairline over time.
IR Clinical™ System + BOND IQ™ Leave-In CrèmeThe complete thinning-defense system plus the bond leave-in, in one order. Styles hold their shape because the hair holding them is intact.
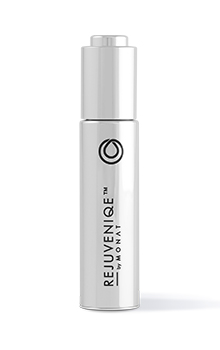
Add the pre-wash — REJUVENIQE™ Oil IntensiveWork through mid-lengths and ends 20 minutes before you shampoo. Styling grips better on hair that isn’t parched.
Both items added together. Or shop the system on its own.
Get the look — everything used
Everything used in this Dutch braid tutorial.
How to do a Dutch braid — step by step
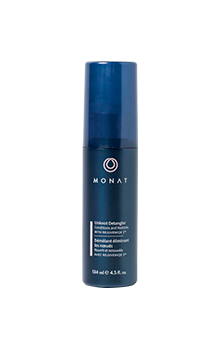
- Detangle fully with Unknot Detangler — a Dutch braid shows every snag because it sits on top of the hair.
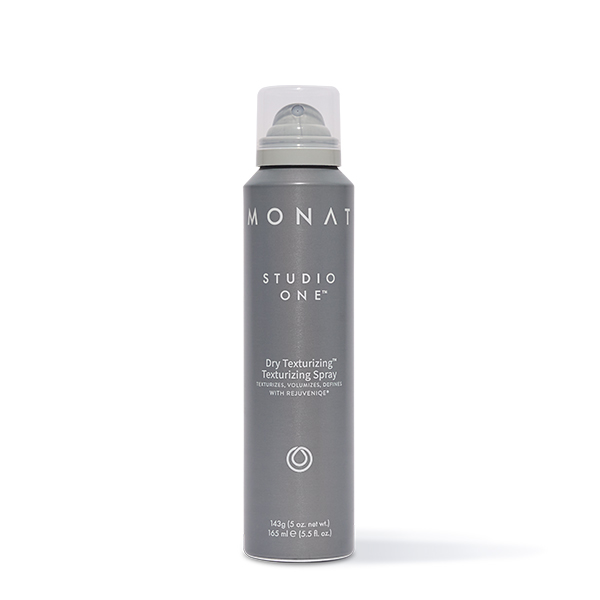
- Mist Dry Texturizing Spray through the roots so sections hold their place while you work.
- Take a section at the hairline and split into three. Cross the outer strands under the middle, not over.
- Add a little hair to each outer strand before every cross, working down the head.
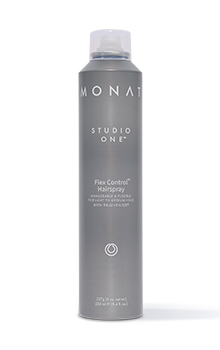
- Finish in a regular braid, secure, then pancake the edges outward and set with Flex Control Hairspray.
Not sure what your hair needs first? Take the 2-minute Hair Quiz →
Individual results vary. Descriptions refer to the look and feel of hair and are cosmetic, not medical, claims. This page contains affiliate links; a commission may be earned at no additional cost to you.